
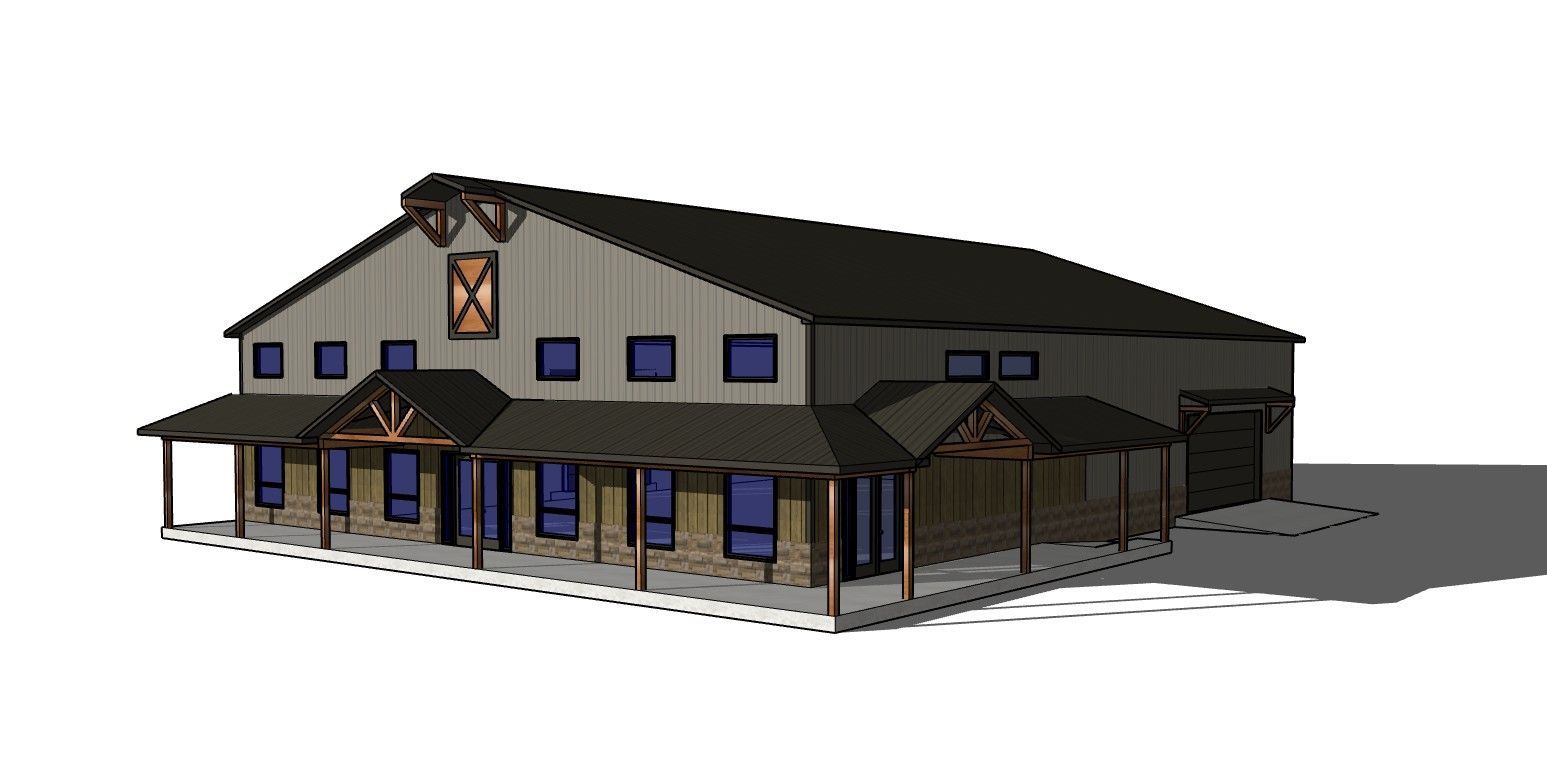
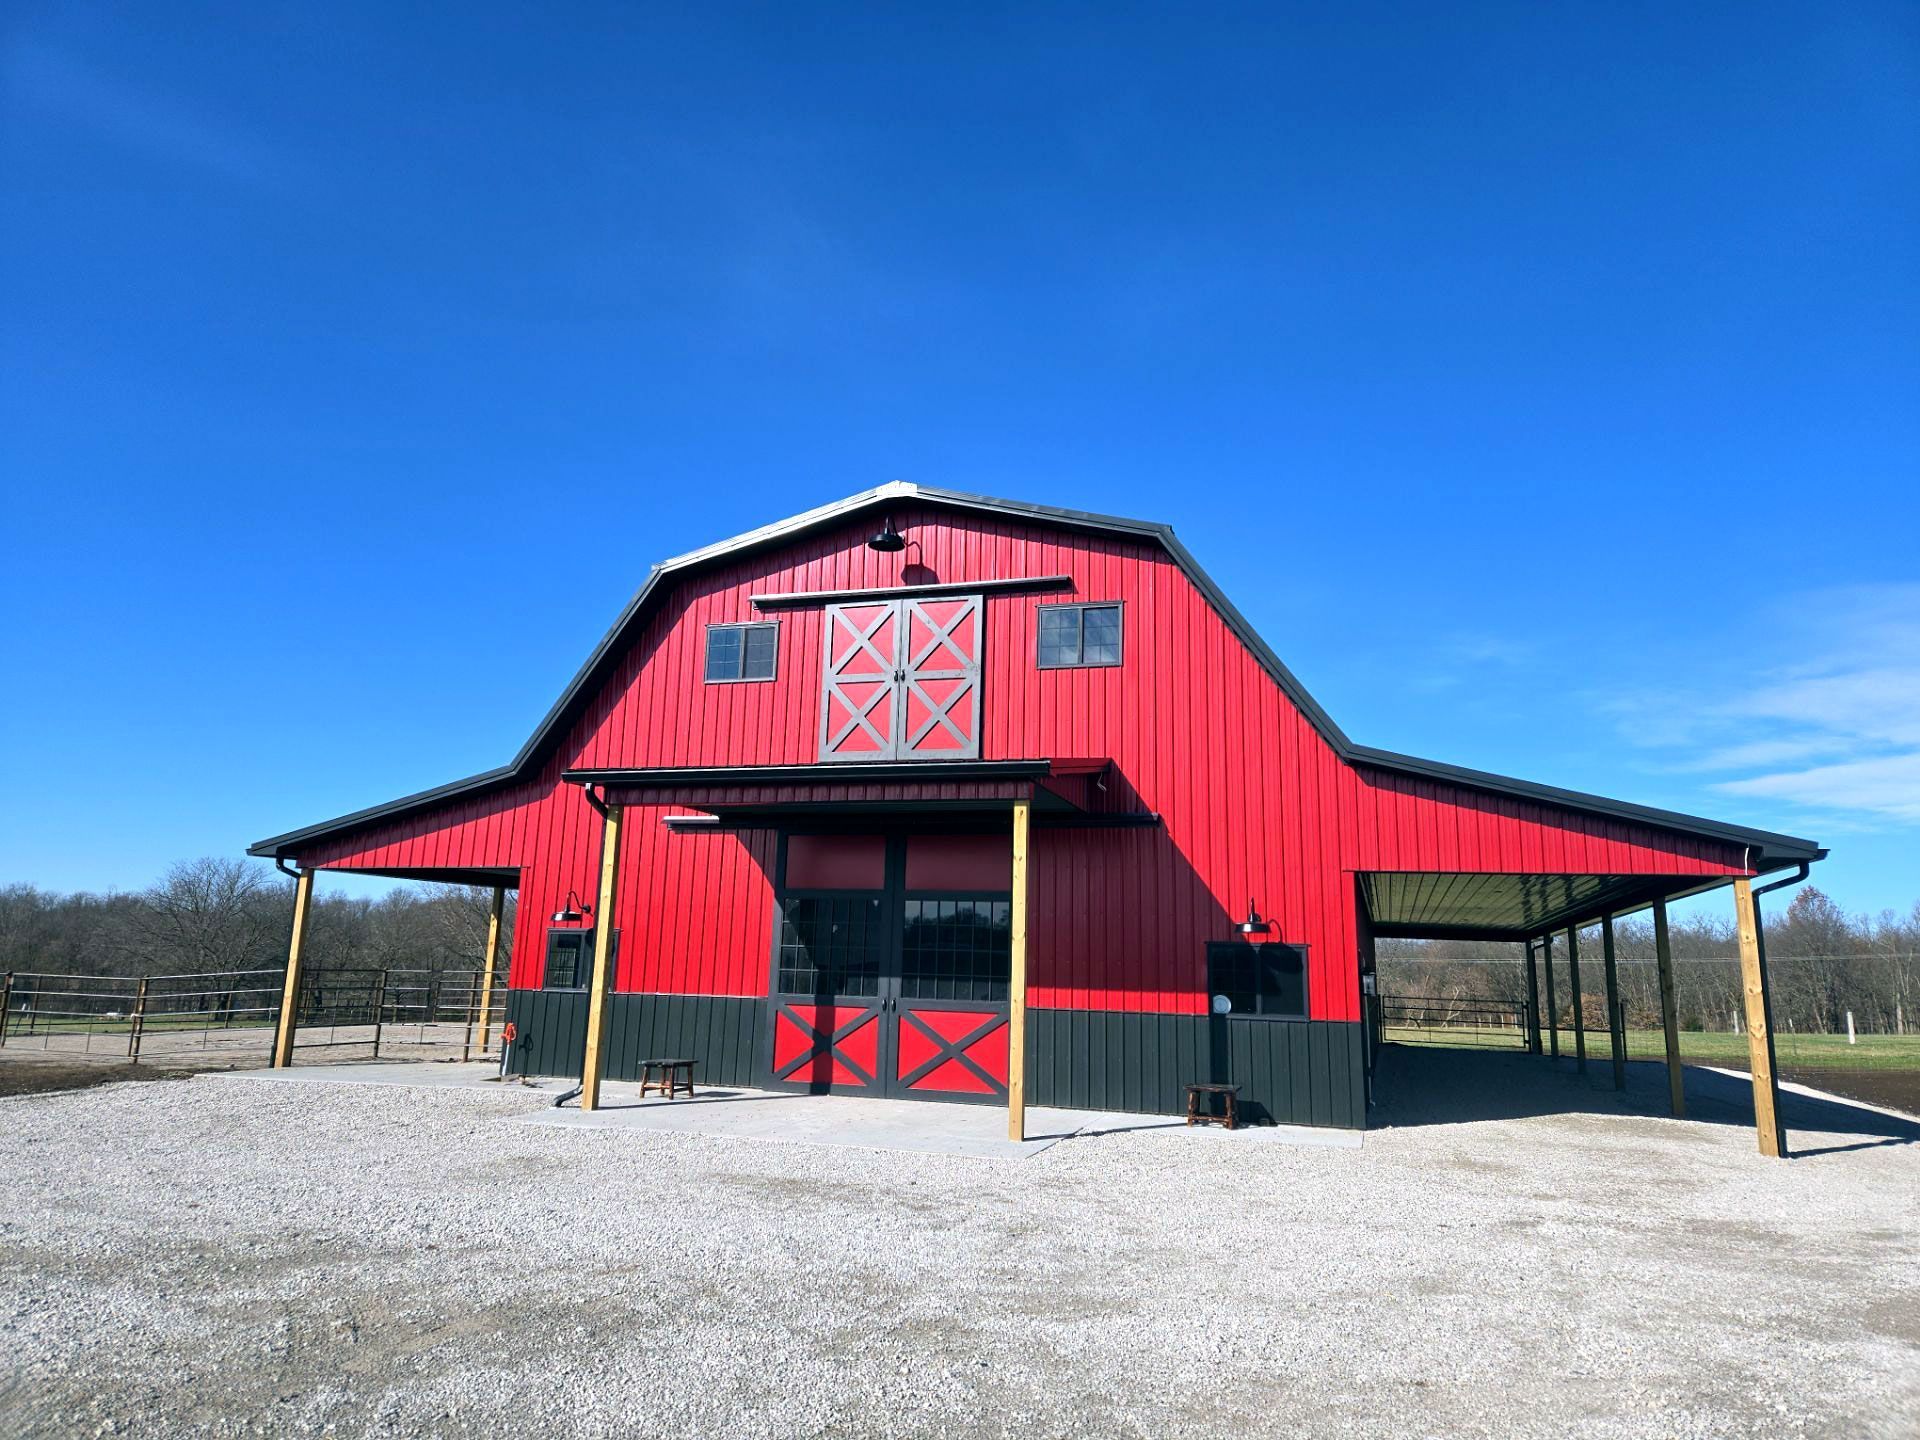
Building a post-frame structure in Missouri requires durability and protection. Learn why a 5-year workmanship warranty provides essential peace of mind for your residential or agricultural project.
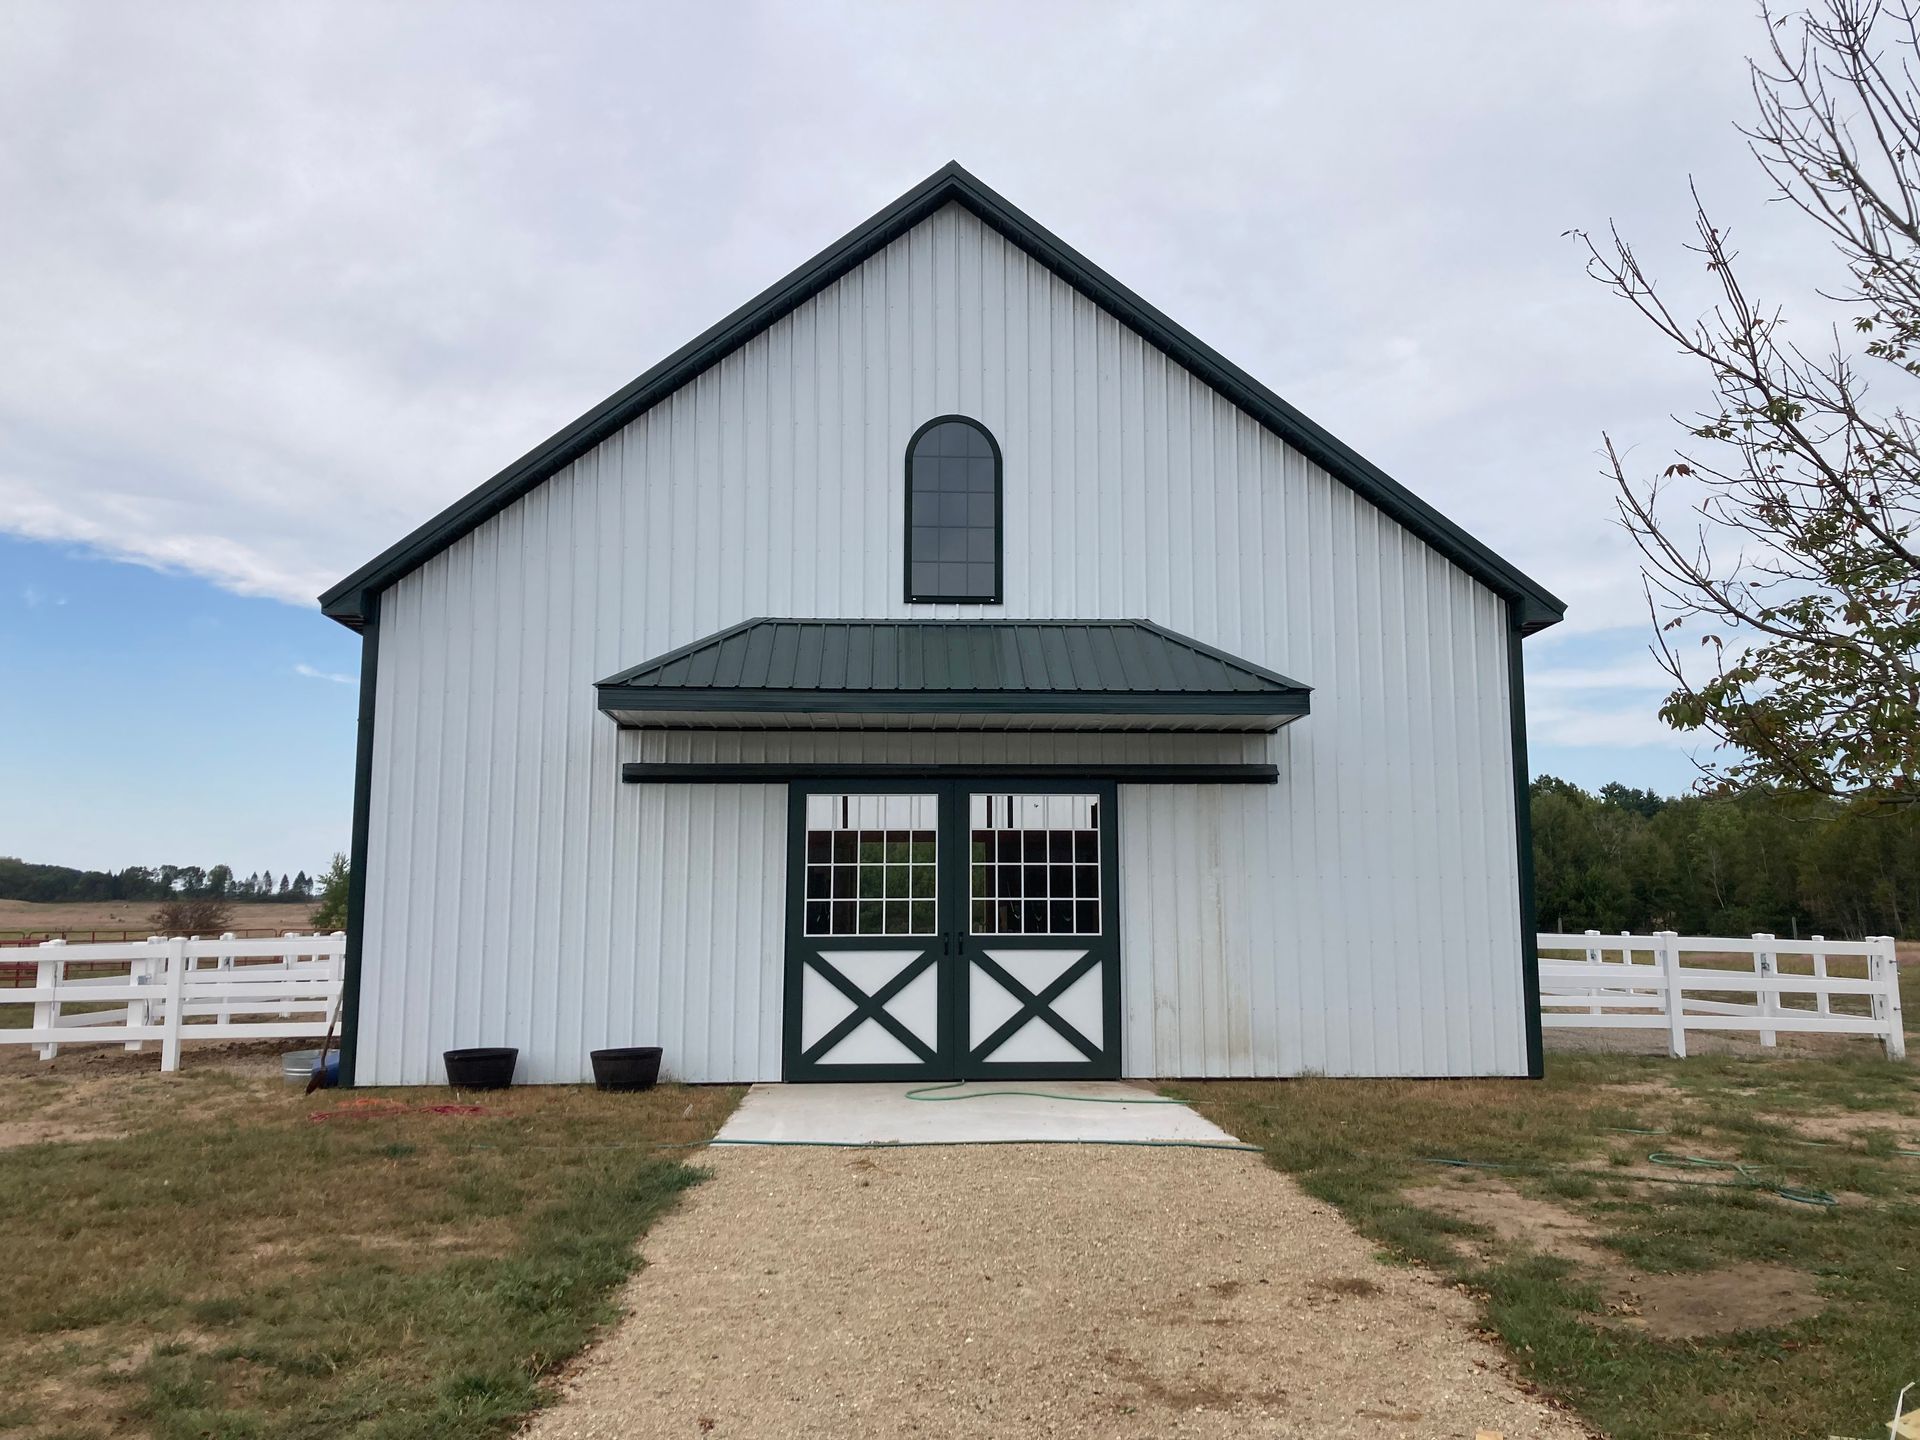
Build durable equestrian facilities in South Dakota that protect your horses and investment. Gingerich Structures creates kick-resistant, weather-proof post-frame barns, arenas, and run-in sheds built for safety and longevity.
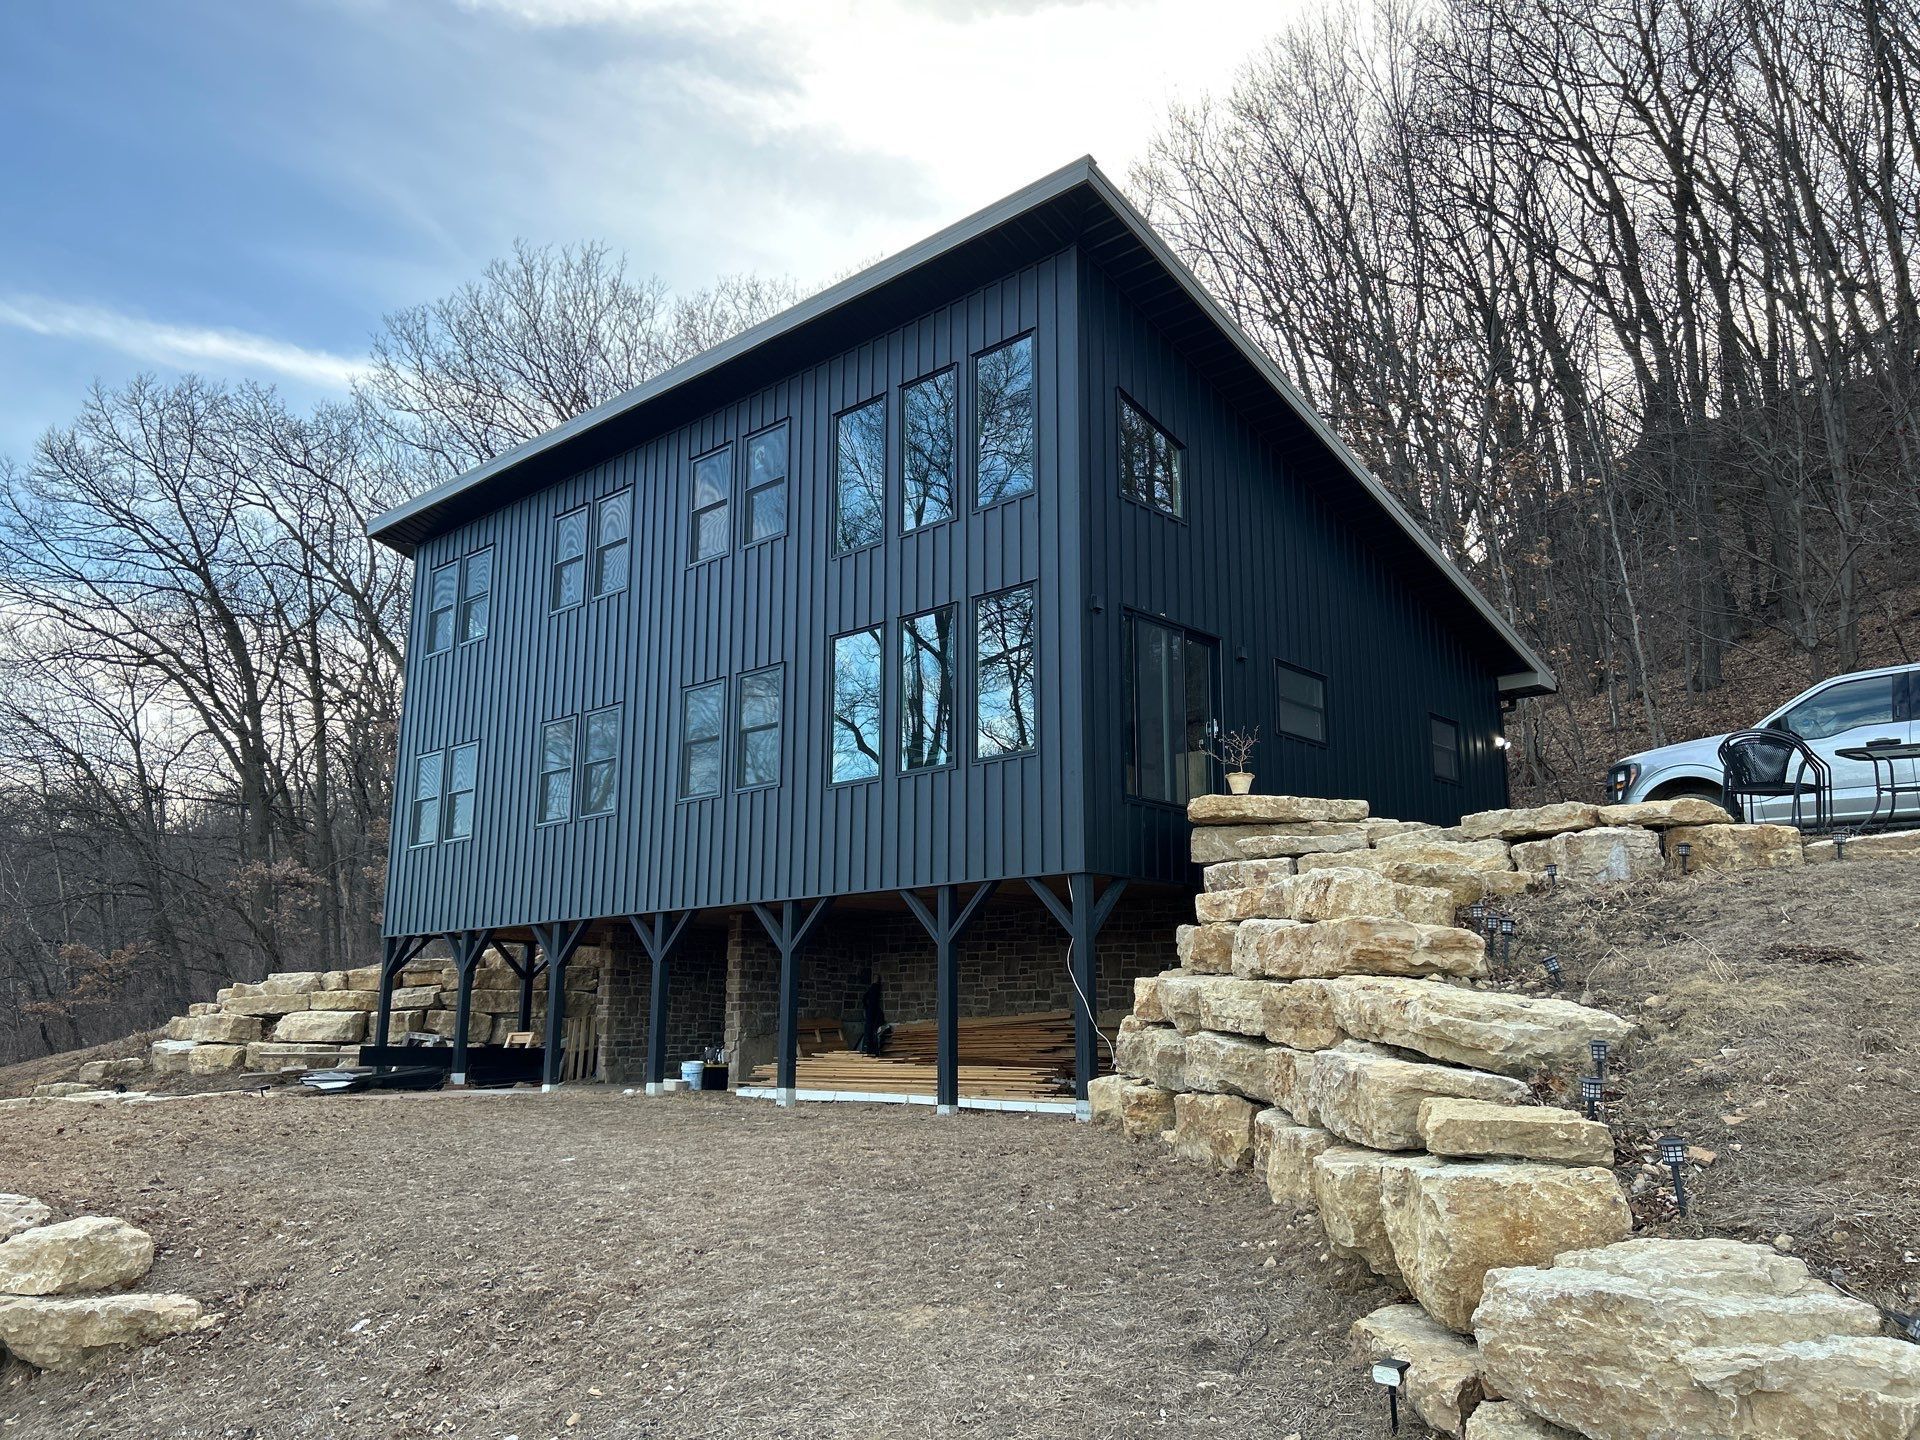
Why Energy Efficiency Matters in Wisconsin When temperatures plunge below zero and wind chills drop even further, a poorly insulated building becomes unusable—or costs a fortune to heat. Summer brings heat and humidity that make uninsulated spaces unbearable. Whether you're running a business, pursuing hobbies, or enjoying weekend getaways at the lake, energy efficiency directly impacts both comfort and operating costs. The Post-Frame Advantage for Insulation Post-frame construction offers unique advantages for creating an energy-efficient building envelope that naturally accommodates substantial insulation without sacrificing interior space. Deep Wall Cavities: Post-frame walls easily accommodate 6 to 8 inches of insulation or more. Traditional construction typically maxes out at 6 inches, but post-frame buildings can incorporate deeper cavities that allow for higher R-values. Continuous Insulation: We can install rigid foam board insulation on the exterior of posts before adding metal siding, creating a continuous thermal barrier that eliminates thermal bridging—the energy loss through structural members in traditional framing. Spray Foam Excellence: Post-frame construction is ideal for spray foam insulation. We achieve complete coverage with no gaps or air leaks. Spray foam not only insulates but also acts as an air barrier, creating an incredibly tight building envelope. Insulation Packages for Every Need We customize insulation packages based on how you'll use your building and your budget. Basic Package: Fiberglass batts in walls and roof provide solid insulation economically. Ideal for cold storage buildings or seasonal use structures. Enhanced Package: Combination of fiberglass insulation with added rigid foam board creates improved thermal performance and air sealing. Perfect for workshops, hobby buildings, and commercial spaces with moderate climate control needs. Premium Package: Closed-cell spray foam insulation throughout delivers the highest R-values and creates an airtight seal. Best for residential buildings, year-round businesses, and any application where maximum comfort and minimum energy costs are priorities. Wisconsin Applications That Benefit from Energy Efficiency Lakeside and Recreational Properties: Wisconsin's beautiful lake country draws people seeking weekend retreats. A well-insulated post-frame cabin extends your usable season dramatically. Spring and fall weekends become comfortable without massive heating bills. Many clients use their lake properties year-round because energy-efficient design makes winter visits practical and affordable. Ice fishing enthusiasts appreciate heated fish houses that maintain comfortable temperatures even in deep winter. Hunting lodges benefit from efficient heating that quickly warms the space after a cold day in the field. Residential and Hobby Buildings: Energy-efficient post-frame buildings make perfect workshops, home gyms, art studios, and hobby spaces. The ability to maintain comfortable temperatures year-round transforms these buildings from seasonal storage into true living spaces. Home workshops benefit enormously from proper insulation. Whether you're working with wood, metal, or pursuing automotive hobbies, maintaining consistent temperatures protects your tools, materials, and projects while keeping you comfortable. You can heat your 30x40 workshop without cringing at the utility bill. Commercial Applications: Wisconsin businesses face real pressure to control operating costs. An energy-efficient post-frame building significantly reduces monthly expenses compared to traditional construction or older, poorly insulated structures. Retail spaces benefit from stable temperatures that keep customers comfortable while protecting inventory. Warehouses can maintain appropriate conditions for stored goods without excessive energy costs. Office buildings provide comfortable work environments that boost productivity while keeping overhead low. Beyond Insulation: Complete Energy Efficiency True energy efficiency goes beyond just insulation. We design complete building envelopes that minimize energy consumption. Air Sealing: We seal every potential air leak. Doors, windows, service penetrations, and transitions between materials all receive proper attention to prevent conditioned air from escaping. Roof Design: Proper roof ventilation and insulation prevent ice dams in winter while reducing solar heat gain in summer. Window and Door Selection: Energy-efficient windows and insulated overhead doors contribute significantly to overall building performance, balancing natural light, access needs, and thermal performance. Heating and Cooling Systems: An energy-efficient building envelope allows smaller, less expensive HVAC equipment. Reduced heating and cooling loads mean the equipment runs less often and lasts longer. Real-World Performance The difference between a well-insulated post-frame building and a poorly insulated one becomes obvious on your utility bill. Our clients regularly report heating and cooling costs 40-60% lower than anticipated. Recent Wisconsin examples: a 40x60 workshop in northern Wisconsin maintains 65°F through winter with a modest propane heater running only periodically. A lakeside retreat in central Wisconsin costs less than $100 monthly to heat despite regular weekend use. A small business in southern Wisconsin cut energy costs in half after moving into a properly insulated post-frame structure. Investment That Pays Back Premium insulation represents a larger upfront investment, but Wisconsin's climate ensures rapid payback through reduced energy costs. Most clients see complete payback on insulation upgrades within 3-5 years, then enjoy decades of lower operating costs. Beyond direct energy savings, proper insulation increases building usability and comfort. A space that's pleasant to occupy year-round simply gets used more—whether that means more productive work hours, more enjoyable hobby time, or more family gatherings at the lake property. Why Gingerich Structures We've built post-frame buildings throughout Wisconsin and understand what it takes to create structures that perform in our climate. Our experience shows in the details—proper vapor barriers, correct installation techniques, attention to thermal bridges, and comprehensive air sealing that makes the difference between adequate and exceptional energy efficiency. When you work with Gingerich Structures, you're partnering with builders who know that energy efficiency isn't just about insulation thickness—it's about designing and constructing complete building systems that work together to minimize energy consumption while maximizing comfort and usability. Ready to build an energy-efficient post-frame structure in Wisconsin? Contact Gingerich Structures today to discuss your project and discover how proper insulation transforms building performance.